
How to Make a Listing Video From Photos (No Filming, No Editing)
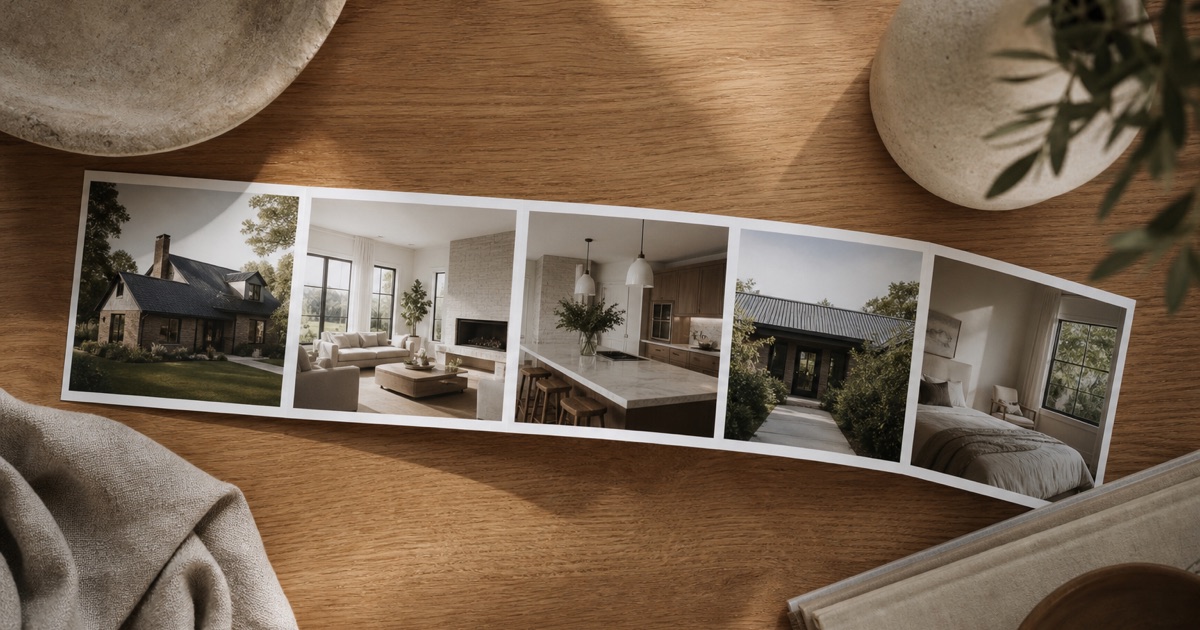
Your listing photos already look professional. Your photographer spent hours getting the light right, staging the rooms, and capturing angles that show the property in its best form. So why film a whole video from scratch?
The answer: you don't need to. Photo-based video turns your existing shots into a polished listing video in minutes. No second photo shoot, no editor, no waiting weeks for post-production. Just your photos, in motion.
Yes, Your Photos Are Enough
Agent objection: "Won't a video made from photos look cheap?" No. A video made from professional photos already has what most listing videos lack: proper staging, clean lighting, and skilled composition. A drone or handheld footage shot in 30 minutes won't compete with a $500+ professional shoot.
The magic is motion. A panning camera across a kitchen makes the space feel bigger and more open. A slow walkthrough from entry to living room tells a story that a static photo can't. The motion transforms what you already have into something that feels cinematic, without extra filming.
This is why photo-based video works for luxury, mid-market, and affordable homes alike. The quality comes from your original photos, not from recreating them.
The 3-Step Flow
Here's how the process works, end to end.
Step 1: Pick 3-20 Photos and Order Them Like a Walkthrough
Start with photos that show the property's flow. Exterior shots first, then entry, living areas, kitchen, bedrooms, bathrooms, outdoor space. Skip near-duplicates; pick one angle per room.
The order matters. A buyer watching should feel like they're walking through the home. Jumping from bedroom to exterior to kitchen breaks that narrative. Exterior opens the story. Interior closes it.
Pro tip: Start with 10-15 photos. Too few and the video feels rushed. Too many and rooms get redundant airtime.
Step 2: Choose a Motion Style
Three motion styles handle most listings.
- Walkthrough: Camera moves through the home as if the viewer is walking. Smooth, natural, works great for furnished homes with clear sightlines.
- Pan Around: Camera stays in place but pans and zooms across each photo. Better for tight spaces or when you want to emphasize specific details (crown molding, marble counters).
- Stage It: AI virtual staging fills empty rooms with furniture. Perfect for vacant properties or listings where empty space hurts perception.
Most agents pick Walkthrough for occupied homes and Stage It for empty ones. Pan Around is ideal when you want buyers to linger on specific rooms.
Step 3: Generate and Download
Upload your ordered photos, pick your motion style, and hit generate. Try HomeReel free to see the process. No credit card required.
The video renders in HD. Download it, and you're ready to post. Most videos take 2-5 minutes to generate, depending on length and motion complexity.
Where to Post Your Listing Video
Three platforms deserve your video.
Instagram Reels (and Facebook)
Reels are free reach. Your listing video gets 15-60 seconds. That's enough for a full walkthrough. Post it on both Instagram Reels and Facebook. Posting consistently, a few Reels a week, compounds far faster than one post a month.
Hook the first frame. A walkthrough can start inside the home (viewers assume they're about to see a tour). Add text overlay: "New listing: 4BR, $425K" or "Schedule your showing." Link to your MLS listing in the bio.
Read our guide on Instagram Reels for real estate agents for caption strategy and hashtag patterns.
TikTok
TikTok's algorithm rewards watch time and shares. A 30-second walkthrough that makes someone think "I want to see this" is TikTok gold. Post the same video with a hook: "Tell me this wouldn't be your dream kitchen," then let the walkthrough speak.
TikTok audiences trend younger, so this works best if your listing attracts first-time buyers or investors. Even if it doesn't convert direct, the algorithm boost gives your real estate profile credibility.
MLS and Listing Portals
Most MLS systems now accept video uploads. Upload your HD video. More and more buyers search on MLS first, and a walkthrough video here increases inquiries. Learn what the MLS allows for AI video here.
Zillow, Redfin, and Realtor.com also accept video on many listings. A video there reaches buyers at the moment they are comparing homes side by side.
Common Mistakes to Avoid
- Too many near-identical shots of the same room. Three angles of the kitchen feels like filler. Pick one or two. Quality over quantity.
- Text-heavy photos. If your photos have open house signs, "FOR SALE" overlays, or watermarks, crop them or swap for a clean version. Motion draws attention to flaws.
- Mixing portrait and landscape photos. A portrait photo stretched to landscape looks warped. Use consistent orientations. For video, landscape (16:9) is standard.
- Skipping the exterior. A video that starts indoors feels incomplete. Even 2-3 exterior shots set context: neighborhood, curb appeal, driveway.
- Ordering rooms illogically. "Here's the bedroom, now the bathroom, now the kitchen" is jarring. Walk the home the way a buyer would.
Why This Works for Your Business
A listing video takes 15 minutes end to end. A traditional videographer takes hours on-site, plus editing time, and costs hundreds per property. Photo-to-video takes your existing investment (professional photos) and multiplies its value.
Buyers increasingly skip properties without video. You're not just keeping up by posting a video. You're making your listings visually competitive with agents who shoot video, without the shoot.
Check pricing for plans — Starter covers 4 listing videos a month, Pro covers 8 and includes virtual staging.
The Bottom Line
You don't need a camera crew to create a listing video. You need good photos (which you already have), a motion style (pick one), and 2-5 minutes of render time. Post it to Reels, TikTok, MLS, and watch inquiries climb.
The process is simple enough that you can create a video per listing, per week, without it becoming a bottleneck. That compound effect adds up fast.
"Photo-based video turns your existing photos into motion. No second shoot, no editor, no weeks of waiting."
Frequently asked questions
Your first listing video is free. No editing skills, no videographer.
Try HomeReel Free