
One Listing, a Week of Content: Turn a Single Listing Into 10 Posts
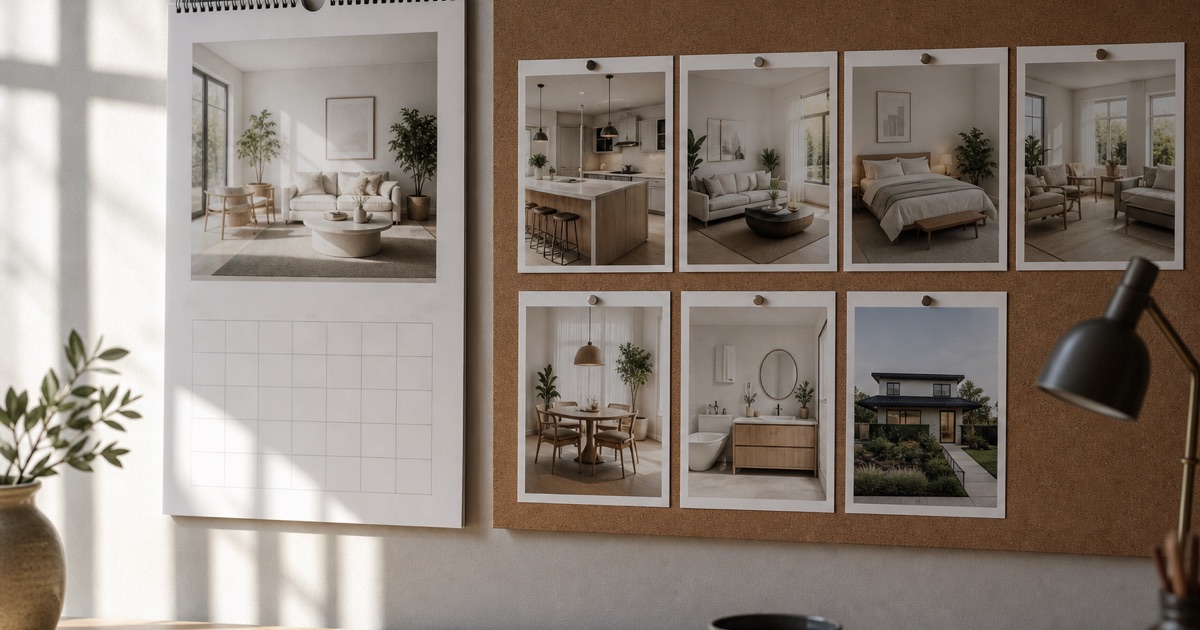
One listing gives you more content than most agents use. The same photo set you already have, the one taken for the MLS, can carry a full week of posts: a teaser, an announcement, a full video, room highlights, a neighborhood angle, and a closer once the deal is done. You do not need a second shoot for any of it.
The 10 Posts You Can Get From One Listing
Every one of these comes from the same photo set. Some are full videos, some are stills with a caption, and one or two only apply if you staged empty rooms. If the listing is already live on Zillow, you can start straight from the listing link instead of re-downloading photos.
- Full cinematic reel. The hero post. Run the whole photo set through a Walkthrough or Pan Around cut and get one polished video covering the entire property, start to finish. This is the version you pin and reuse everywhere.
- Coming-soon teaser. Post before the listing is public: a short clip built from 3-4 exterior and hero-room photos, no address yet, just enough to build anticipation before day one.
- Room-by-room highlights. Split the same photos into 2-3 shorter clips: kitchen, primary suite, backyard. Spread them across the week instead of hoping people watch one long video all the way through.
- "Just listed" announcement. The formal post, address and price and bed/bath count as text overlay, timed to go out the day the listing goes active on the MLS.
- Open-house promo. A short clip with the date and time overlaid, posted 1-2 days ahead so it has time to reach buyers already scrolling in your area.
- Before/after staging. If you filled empty rooms with AI virtual staging, post the vacant photo next to the staged one. Transformation posts like this tend to hold attention longer than a straight room shot.
- Neighborhood angle. Pair an exterior shot or two with a caption about the block, the school district, or what's a five-minute walk away. Buyers are evaluating the area as much as the house.
- Price-reveal hook. A caption-led post that opens with a question, guess the price before you say it, then reveals the number in the caption or a text overlay a few seconds in.
- Agent walkthrough caption post. The same photos as a carousel, but the caption is your own narration, what you noticed walking the property, in your voice instead of the video's.
- "Under contract" or "sold" closer. The bookend post once an offer is accepted or the deal closes. Reuse the hero shot from the full cinematic reel with new text over it.
How to Batch a Week of Content From One Listing
The fastest way to build all 10 posts is to generate the video once and pull stills and re-cuts from the same photo set, not to shoot anything new. Most agents can put together a full week of content for a listing in under an hour at their desk.
Start with the photos you already have. Paste the Zillow, Redfin, or Realtor.com listing link into HomeReel and it pulls the photos automatically, no downloading or re-uploading. If the listing isn't live yet, upload 3-20 photos directly instead.
Pick a motion style per video: Walkthrough or Pan Around for the full cinematic reel, and Stage It first if any rooms are empty and you want them furnished before they show up in your posts. You can make more than one video from the same listing, so generate a second cut that leans on different scenes for the room-by-room post instead of trying to slice one video into ten pieces.
Reframe once you have a video you like. Paid plans can reframe the finished video to vertical 9:16 for Instagram Reels, TikTok, and YouTube Shorts, and horizontal 16:9 for MLS, from the same generation. One render covers both feed and MLS instead of exporting twice.
Watch your monthly count if you're running multiple videos per listing. Starter is $39.99/month for 4 videos, Pro is $79.99/month for 10 videos plus priority rendering and virtual staging included. Two videos per listing on Starter covers two listings a month this way; Pro stretches further. Full breakdown on pricing.
A Simple 7-Day Posting Calendar
Spread the ten posts across the week the listing goes live instead of dropping all of them on day one. Here's one way to sequence it:
- Before launch. Coming-soon teaser.
- Day 1 (listing goes active). "Just listed" announcement, paired with the full cinematic reel.
- Day 2. First room-by-room highlight clip.
- Day 3. Before/after staging post, if you staged any rooms. If not, a second room-by-room clip instead.
- Day 4. Neighborhood angle.
- Day 5. Price-reveal hook or the agent walkthrough caption post, whichever fits your voice that week.
- Day 6. Open-house promo, timed to land 1-2 days before the actual open house.
- Day 7. The second room-by-room highlight clip, if you haven't posted it yet.
- Whenever it happens. "Under contract" or "sold" closer, reusing the hero shot with new text.
Nothing here needs to be exact. Swap days around your open house date, your own posting habits, or how fast the listing moves. The point is that ten distinct posts come out of one photo set, spread across the time the listing is realistically on the market, not crammed into a single afternoon of posting.
The Bottom Line
One listing is a week of content, not one post. A coming-soon teaser, a launch day announcement and full reel, room highlights, a neighborhood angle, an open-house push, and a closer all come from the same photo set you already have. Batch the video generation once, reframe it for every platform, and space the rest out across the days the listing is actually live.
If you want to see how other agents are using this workflow before you commit to it, agent reviews is a good place to start.
Ten posts don't need ten photo shoots. They need one good set of listing photos and a plan for using every angle of it.
Frequently asked questions
Your first listing video is free. No editing skills, no videographer.
Try HomeReel Free